Assembly of the Grand Orgue
I’m sorry for making you wait over two months with an update, but this project is taking longer than I expected. Also, since the workbench is at my parents’ house, I can only continue working on it on the weekends, and I’m not there every weekend. Plus, I had to drive to pick up the wood pieces cut by my brother first. But enough excuses, let’s start with the assembly of the Grand Orgue.
The plan
This is relatively simple: a single box consists of 2 cabinet halves, whose individual parts are glued together. The two halves of the cabinet are then held together by 16 threaded rods. This has the advantage that in case of a defect the cabinet can be disassembled again to exchange a chassis. Detailed instructions on how to assemble the case can be found here.
I would have preferred step by step instructions with pictures, but with a little patience and imagination I managed it with this flow text + explosion drawing.
My first thought was to build one speaker at a time so I wouldn’t mess anything up. I planned on a total of 3 days for both speakers (not including painting), but unfortunately I made a big miscalculation there. I spent almost a full 3 days assembling just one of those beasts. For both together then several weekends.
…and this is how the problems started
I checked and re-measured each piece of wood several times before gluing to make sure I didn’t make any mistakes. After all, I couldn’t afford to make any mistakes either. The first thing I noticed was that I forgot to buy the two back panels of the tweeter cabinet. Great. 🤦♂️ Without the two parts, I couldn’t continue with the gluing, so I had to go to the DIY store unplanned and get them.
Furthermore, my brother decided – for whatever reason – to cut each of the outer enclosures 4 millimeters shorter than indicated in the 3D drawing. I still don’t know why he decided that, but the fact is that I had to shorten every other piece of wood again so that the speaker could be assembled properly. The final box is thus 4 millimeters shorter than planned, but hopefully this should not affect the sound quality. To learn why my brother was involved in the process in the first place, see my last post.
The next unexpected time problem were the threaded rods. Cutting these to size alone took an entire afternoon. I borrowed the angle grinder needed for this from a kind neighbor. My initial attempt to do this with a handsaw failed miserably. 😅
Painting MDF properly!
Now that all unexpected obstacles had been bypassed, the wood priming was on the agenda. I did some extra research for this because I’ve never painted MDF before, at least not to a high gloss. For this, a primer is mandatory so that the MDF does not simply soak up the paint.
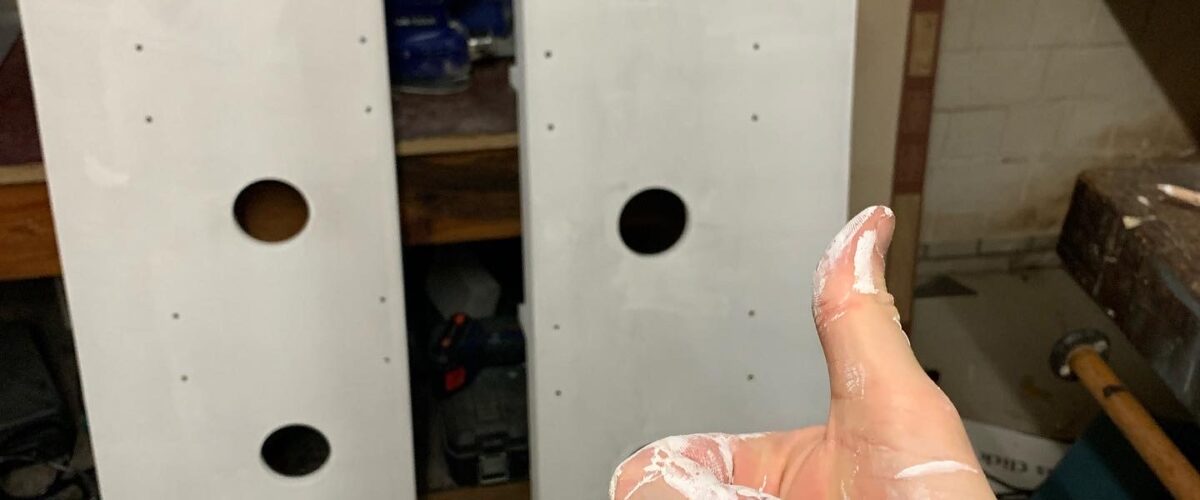
To apply the primer I got myself both appropriate brushes and paint rollers. The outside walls also painted well with them, but the insides were a cramp. Not only that one came neither with role nor brush well into the last corners; the problem was also an even application of the primer. The result looked a bit blotchy. Not so bad, it’s still painted over anyway. Applying the primer was really exhausting, but I don’t even want to start talking about sanding afterwards.
Final result
Long story short, two months later I managed to completele the assembly of the Grand Orgue and apply wood primer to both cabinets. The priming was so time consuming and the result for it so mediocre, that I even thought about giving the speakers to a professional painter to paint them.
Ultimately, however, after much thinking, I bought a paint gun on Amazon and will hopefully achieve good results myself. At least then I can say that I did the paint job without any help. ☺️
Anyway, the speakers are now ready for the final coat of paint. I’ll be in touch with you as soon as the paint job is up.


1 thought on “Assembly of the Grand Orgue”