Repairing my amplifier
The replacement part from the vendor finally arrived, so I was able to start repairing my amplifier.
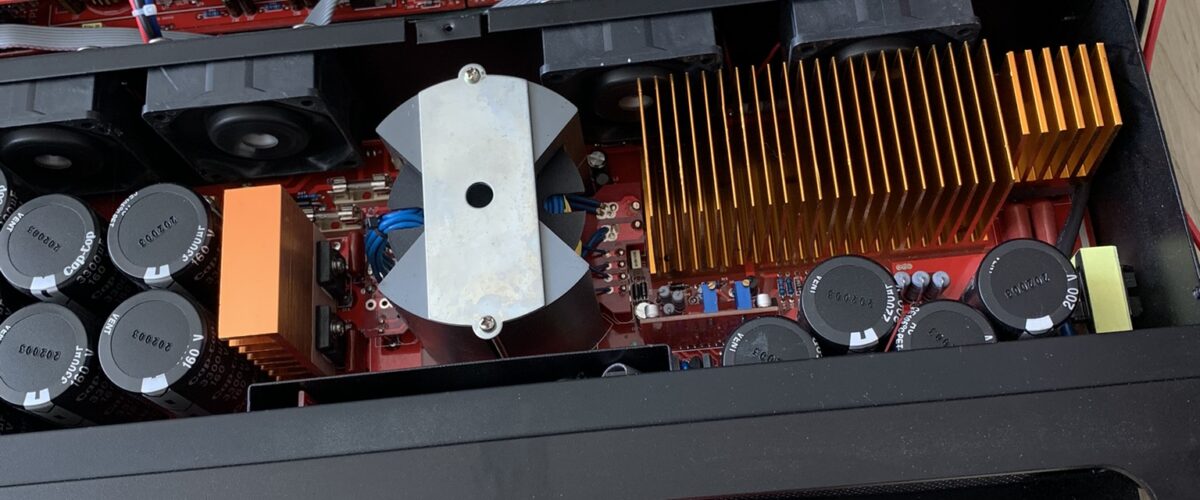
Let’s get started. To replace this tiny part between the capacitors, I had to open up the unit completely from both sides. The vendor sent me a video showing how to (de-)solder the potentiometer for the replacement.
Since I have a more or less “semi-professional” workbench for this (my dining room table), it took some time to complete.
After the replacement, I set the voltage back to 157V and crossed my fingers that this time it wouldn’t rise on its own.
Stupidly, the volume initially started to rise again like last time, so I set it back to 157V. After some time it finally settled there. 🎉
At the time of writing, the amp has now been running for 30 minutes without any problems. I hope that this will fix the problem permanently. I’ll check it out under load the next time I’m at my parents’ house.


1 thought on “Repairing my amplifier”